Edit New Student Registration fields and message resources
During configuration, you and your Implementation Consultant can customize Aspen's New Student (Online) Registration to suit your
-
Remove fields that appear on the New Student Registration page templates.
-
Create personalized,
Removing Fields from New Student Registration Page Templates
New Student Registration page templates contain many fields by default. Some fields could display information that do not apply to your
There are two styles of field layout in New Student Registration: fields with a gutter style, and those without. The method you use to remove fields depends on the field layout style in Aspen.
Gutter-style fields
Gutter-style fields use the standard <row><column> XML notation. You can identify them by the gray "gutter" to the left of the field, where the field's label appears.
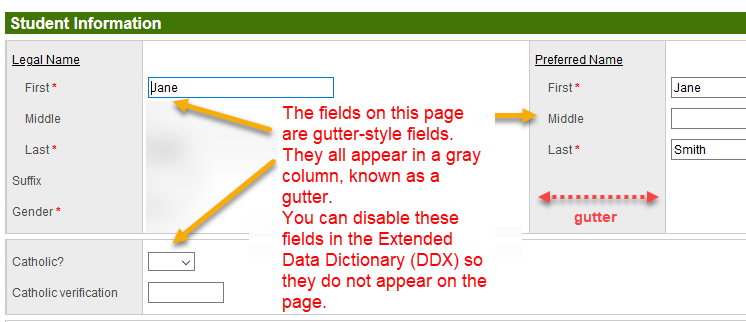
To remove a gutter-style field from an Aspen page, you need to disable it in the Extended Data Dictionary.
To remove a gutter-style field:
-
Log on to the
-
Select Admin > Data Dictionary > Extensions.
-
Find and select the Online Registration record (SYS_OLR_001).
-
Click Tables on the side-tab.
-
Select the Student Registration table.
-
Click the Fields side-tab.
-
Find the field you want to remove, and click to open it.
-
Deselect the Enabled checkbox.
-
Click Save.
-
Select Options > Reload Data Dictionary.
-
To remove another field, repeat steps 7 - 10.
Fields without a gutter
The second layout style uses a <row><block> XML notation. This layout style:
-
Displays a long question or descriptive text that provides more information than a simple field name
-
Does not display a gray gutter to the left of the field
This style provides more information for the user, but is more complicated to customize. The long message or descriptive text is stored in the Message Resource table.
|
Example: You do not want parents to view the long sentence below. If you disable the field in the Extended Data Dictionary as described above, the drop-down will no longer appear on the page, but the long sentence label will.
|

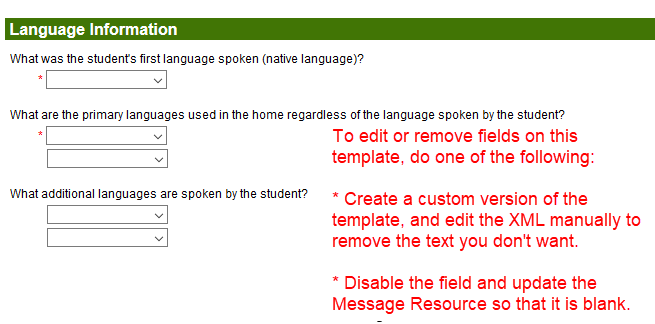
To remove an entire section that displays fields without a gutter:
-
Copy the template.
-
Remove the text by editing the XML manually. Only a user who is familiar with Aspen's use of XML should complete this process.
To remove a single field that does not have a gutter:
-
Disable the field in the extended Data Dictionary.
| Note: To remove a field from the parent's view, but leave it enabled for the registrar to fill in, copy and edit the parent-facing template. If you disable the field in the Extended Data Dictionary, it will be removed from both parent and registrar views. |
Editing Message Resources
There are several types of message resources you might need to edit: standard message resources, messages that contain HTML and email notificationemail notification message sources.
To edit a standard message resource:
-
Log on to the
-
Select
-
Go to the New Student Registration page, and then highlight and copy the text you want to edit.

-
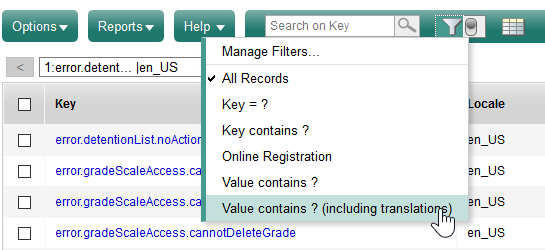
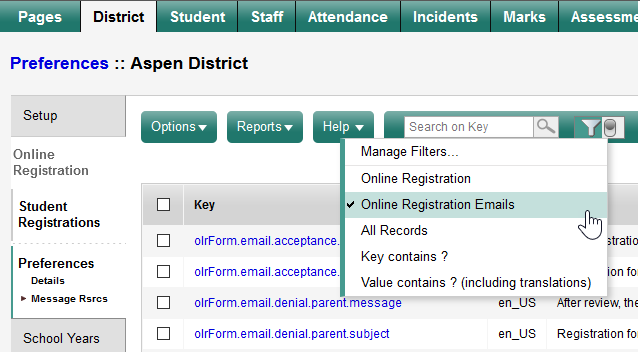
Select Admin > Message Resources.
-
Click the filter icon, and then select the Value contains? filter.
-
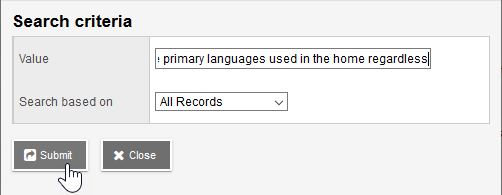
The Search Criteria pop-up appears. Paste the copied text in the Value field. At Search based on, select All Records. Click Submit.
-
On the Message Resources page, select the record you want to edit and then click Details.
Note: If the
-
At the Value field, edit the text as needed. To remove the field label entirely from the page, delete the contents of the Value field.
-
Click Save.
-
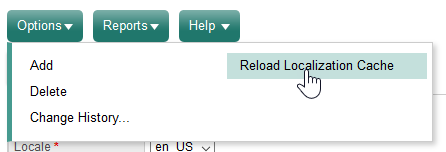
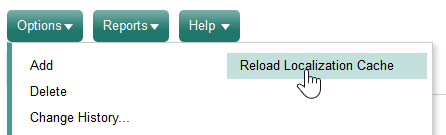
Select Options > Reload Localization Cache for users to view the updated field.

Edit a message resource that contains HTML
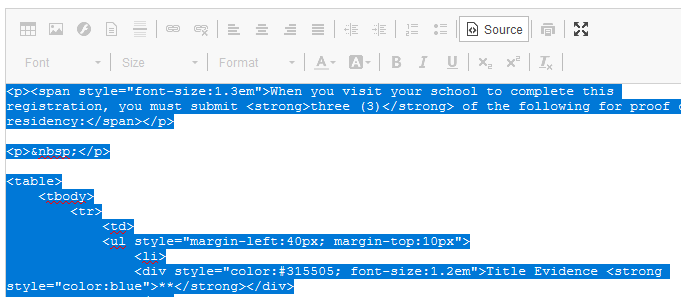
Some message resources contain HTML code. Examples could include an email, or the table on the Documents tab that lists items a parent must present to the school:
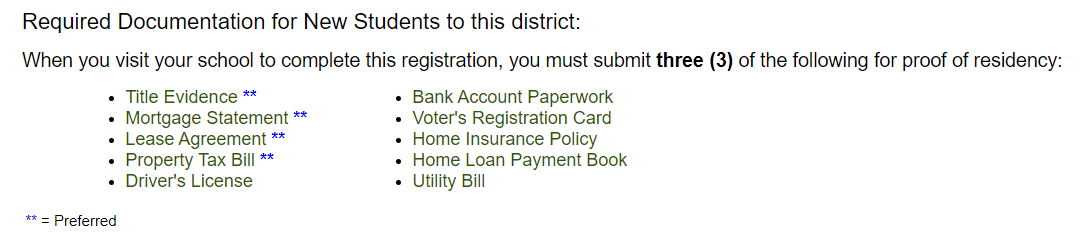
The HTML for this message resource is stored in key "olrForm.validDocumentsHtmlTable" but can be difficult to edit there (
<span style="font-size:1.3em">When you visit your school to complete this registration, you must submit <strong>three (3)</strong> of the following for proof of residency:</span> <br/> <table><tbody><tr><td><ul style="margin-left:40px; margin-top:10px;"><li><div style="color:#315505; font-size:1.2em;">Title Evidence <strong ...
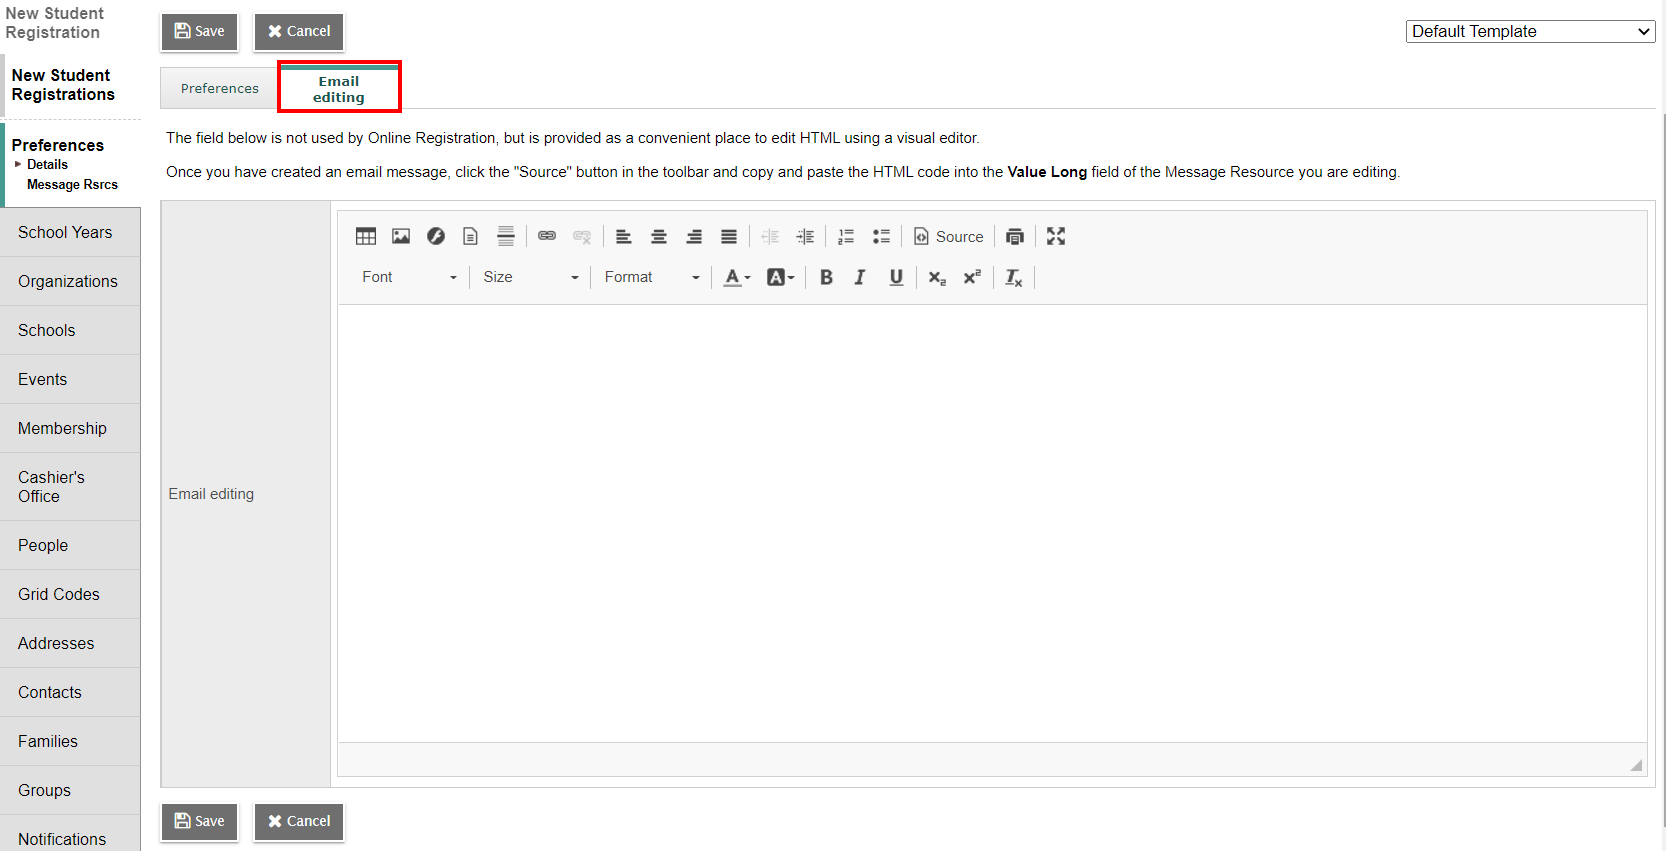
You can edit the HTML code more easily from the New Student Registration Preferences side-tab (
To edit a message resource that contains HTML code:
-
Log on to the
-
Select Admin > Message Resources.
-
Find the message resource you want to edit.
-
Copy the text in the Value field, and then click Cancel.
-
On the Preferences side-tab, click Details, and then click the Email editing sub-tab.
-
Click the Source button.
-
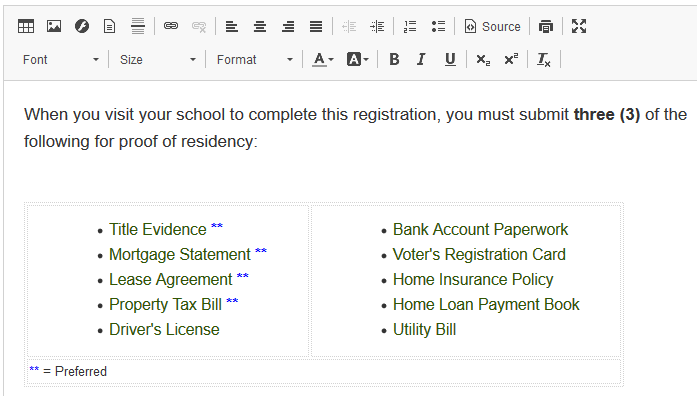
Paste the HTML from the message resource.
-
Click Source again. The message appears as users will see it.
-
Edit the text as needed.
-
Click Source again, and then copy the edited HTML.
-
On the Preferences side-tab, click Message Rsrcs, and then select the message resource.
-
Paste the copied text into the Value Long field.
-
Click Save.
-
Select Options > Reload Localizations Cache.
| Note: If your |
Edit email notification message resources
You can create personalized,
Aspen sends an email notification to the student's primary contact when the:
-
Online registration is successfully submitted
-
School accepts the registration
-
School denies the registration
-
Registrar changes the school requested by the parent
When a registrar changes the school selected by the parent, Aspen can send an email notification to specified staff at the new school. (
These email notifications are stored in the New Student Registration message resources (
The following table lists each message resource key, and the event that triggers the email.
| Key | Notification Event | |
|---|---|---|
|
olrForm.email.submitConfirmation.parent |
Message sent to parent/guardian after initial submission of the registration in the Family portal. |
|
|
olrForm.email.acceptance.parent |
Message sent to parent/guardian when school accepts the registration. |
|
|
olrForm.email.denial.parent |
Message sent to parent/guardian when school denies the registration. |
|
|
olrForm.email.schoolChange.parent |
Message sent to parent/guardian when the registrar changes the school they requested.
|
|
|
olrForm.email.schoolChange.registrar |
Message sent to designated staff at the new school when the registrar at the school requested by the parent/guardian changes it (due to the family’s address, for example). |
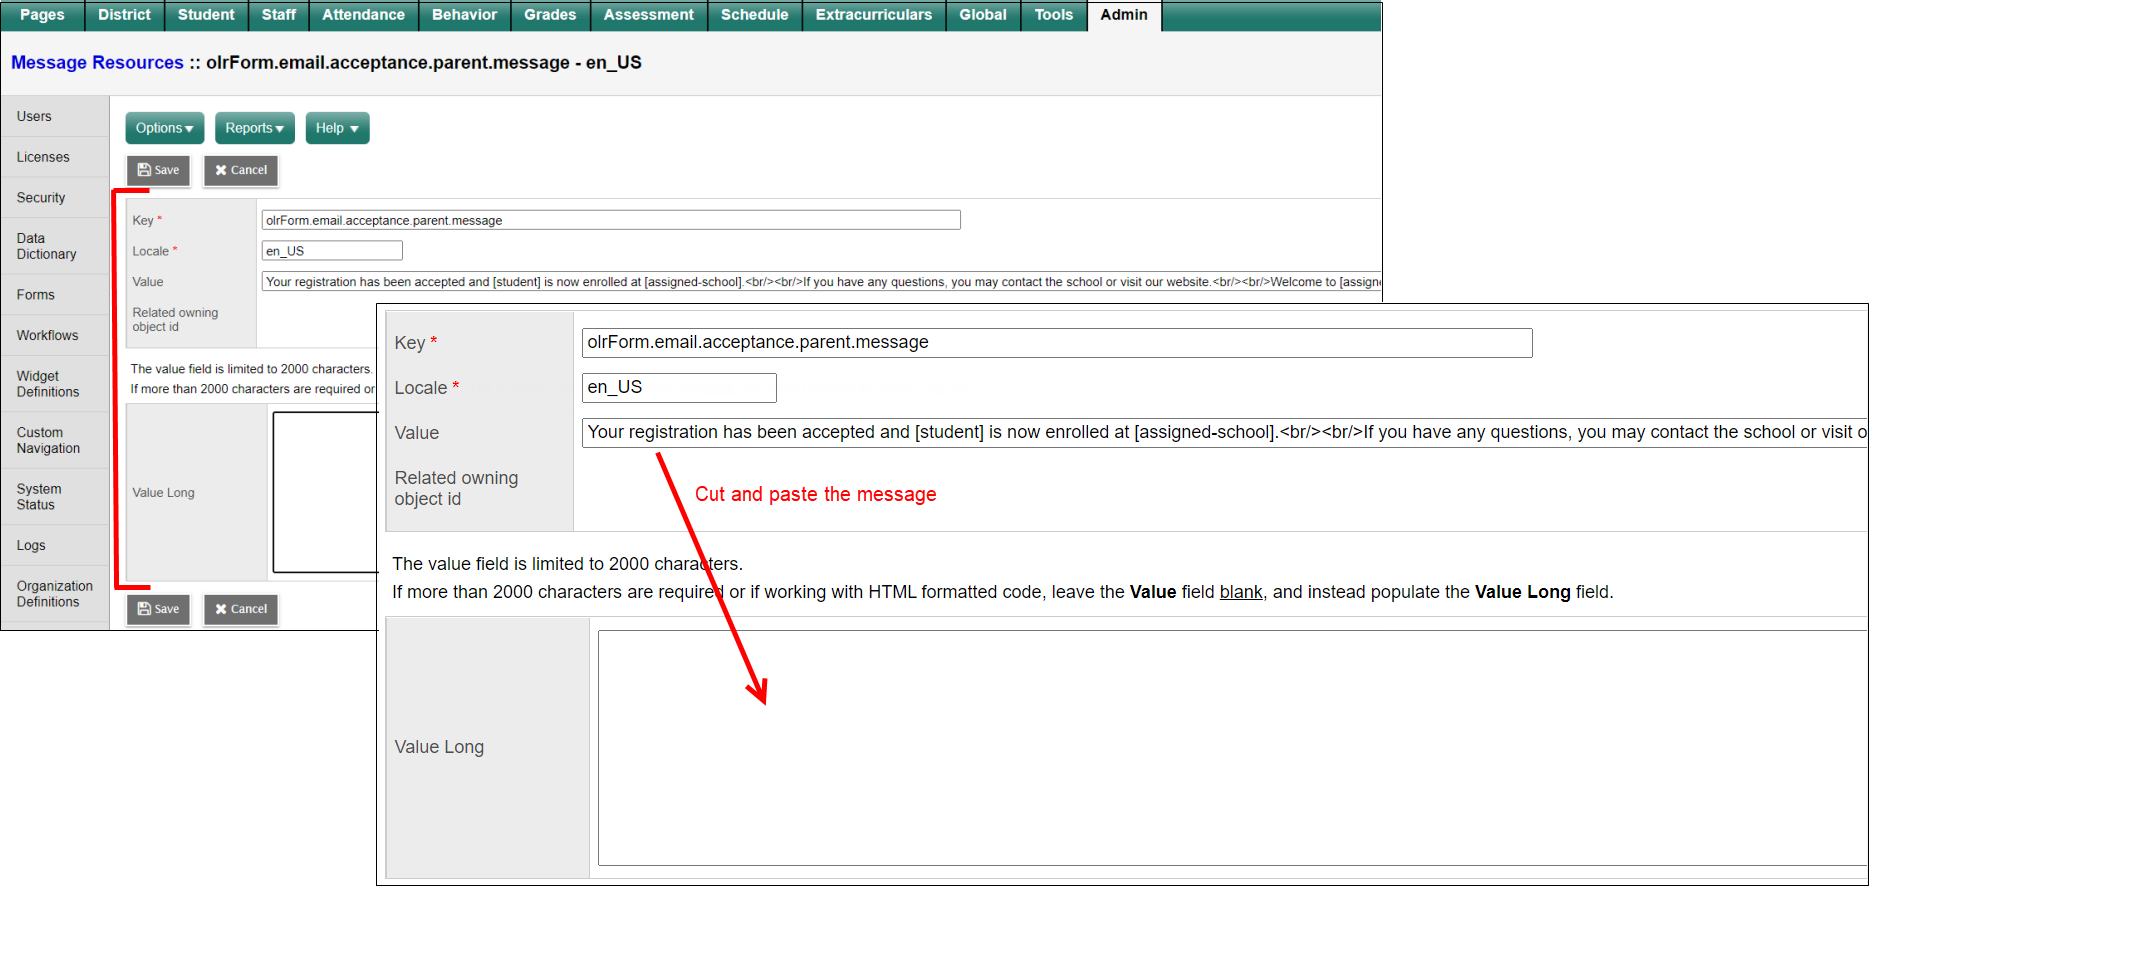
The body of the email message for each key is stored in the Value field of the message resource. It is recommended that you edit this field by cutting (not copying) the text, and then pasting it in the Value Long field.
To create an HTML email with rich text and/or images, see "Edit a message resource that contains HTML". The purpose of the Email editing sub-tab of the New Student Registration > Preferences detail template is to help you create more personalized,
You must select Options > Reload Localization Cache for Aspen for save your changes to message resources.
| Note: When a parent submits an online registration, a confirmation of submission pop-up appears. |